COD: Zombies News
@MargwaNetwork • 69,491 subscribers
Zombies news for zombies players // Donation and affiliate Linktree: https://t.co/it9nz8l1an // Email for inquiries: [email protected]
Shorts


Videos

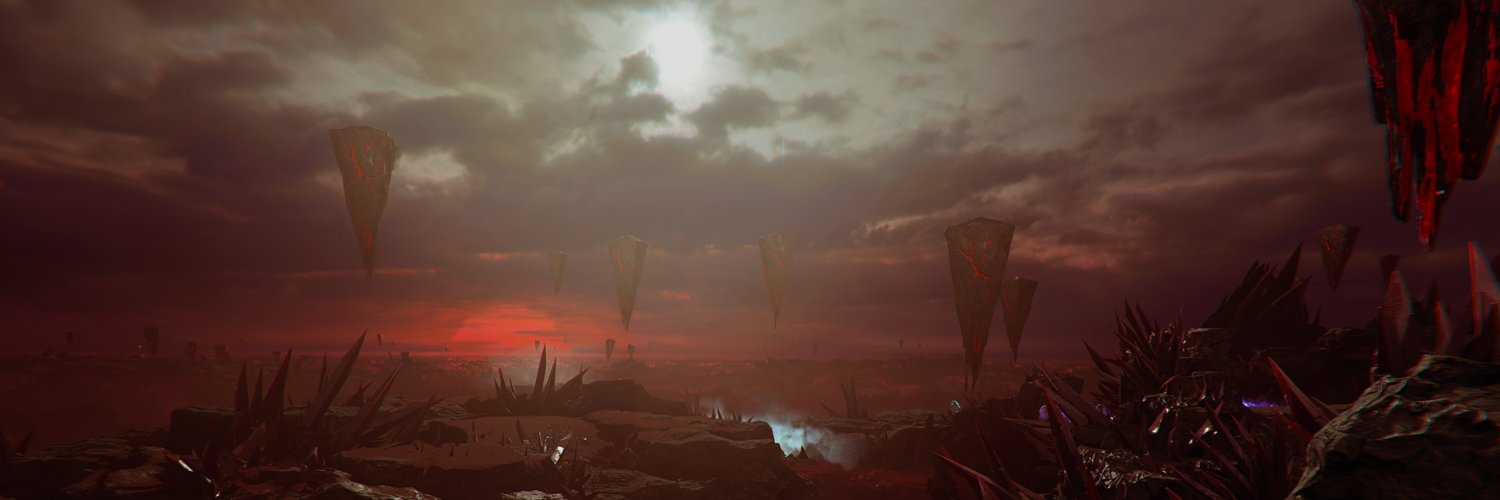
OFFICIAL: Season 5 Trailer, including Lighthouse Survival, Astra Malorum Rogue Run, & DLC 5 REX INFERNUS
COD: Zombies News130,061 görüntüleme • 7 gün önce


OFFICIAL: "The Dreadful Dresden" Gameplay, The First Ultra Rarity Legacy Weapon You Can Put Ammo Mods On It
COD: Zombies News183,800 görüntüleme • 2 ay önce

OFFICIAL: Dempsey PTSD EE Guide: 1. Play as Dempsey 2. Go to Crashed Rocket 3. In the corner there'll be dead bodies and a dog tag 4. Interact with it and survive the PTSD attack. You'll know you did this right when there's a mini cutscene. You get a legendary weapon and a few other rewards, as well as a trophy/achievement
COD: Zombies News433,478 görüntüleme • 8 ay önce

OFFICIAL: Paradox Junction gameplay trailer. Credit to Shutter Paw
COD: Zombies News233,893 görüntüleme • 4 ay önce

OFFICIAL: Maya Franco cutscene guide: 1. Play as Maya, and go to the door and radio by vulture aid. 2. Interact with the radio. 3. After a voiceline, you'll be able to enter the door. 4. Fight the boss enemy and grab the key it drops 5. Unlock the gate Cutscene in the video below
COD: Zombies News755,943 görüntüleme • 1 yıl önce

OFFICIAL: Totenreich's Easter Egg Song "No One There ft. Vicky Psarakis" Preview
COD: Zombies News110,831 görüntüleme • 2 ay önce

OFFICIAL: New special round gameplay - the map freezes and you have to go inside in order to "warm up"
COD: Zombies News627,251 görüntüleme • 1 yıl önce


OFFICIAL: EASTER EGG GUIDE FOR TOTENREICH: Wonder Weapon: 1. Head to The Drydocks and lower The Crane, this will allow you to wall jump and interact with the tip of the ship to pick up the Chain Link 2. Next, Head to Storm Bridge and pick up Chili Chunks behind the truck next to Deadshot 3. Place Chili Chunks on the table in the middle of the Skalen Market 4. Next, Head to Burial Grounds left-side door and interact with the keyhole. 5. Interact with the door again and hold it to open the door and to unlock the underground area. 6. This will spawn a Zursa Bear during a special round (starting the second special round) you need to kill him and he will drop The Lantern 7. Place The Lantern in the center of the Underground Room in Burial Grounds. 8. Constellations will appear around the wall. Interact with them as they’re shown on the table in this order: left, right, back, front. 9. Once completed, Astrid will appear and talk, she will then travel to different areas of the map. She will occasionally stop and you will need to kill frost zombies next to her. 10. Once all the Soulboxes are completed an Obstacle Course will form on the outside of The Lighthouse, climb to the top by Jumping / Wall Jumping up 11. Once you reach the top, Listen to the Astrid talk and pick up The Jotunn Star Wundersignal: 1. After completing Jotun Star Quest Head to The Lighthouse and inside on a shelf there will be a Crowbar 2. There are Multiple Wooden Boxes around the map with red IDs on the bottom right corner of the front of the box in red (for example III-6) use The Crowbar on the Wooden Box that has the Roboterteile ID (the IDs are on the shipping manifest in the War Factory Admin Room), this will give Flak Gun Round War Factory Core Foundry Fjord Road Dry Dock 3. Head to Turret Gun beside The Lighthouse and place Flak Gun Round then melee with Jotunn Star 4. Next, Head to The Robot Head in spawn and interact with it to search broken piece to get The Transmitter 5. Go to Tyr’s Head and place it inside the Wall Machine thingy at the top of the Ladder 6. Next, whilst inside of Tyr’s Head underneath the balcony there are 3 white lights, 2 of these lights will blink, count how many times it blinks -Both lights will remain on, There is the sound of a light turning on to indicate the start of a new light flashing cycle where both lights will flash at the same time to a certain count (for example left 2, right 5). Both lights will be on and then it will flash another set (for example left 6, right 4). (Unsure if these 2 combos have to be put into console in order but correct entry will give two different voicelines.) After entering one correctly you will be kicked out to hear voiceline and can re-enter console to input the 2nd shortly afterwards. 7. Now head to Core Foundry, and use a molotov to burn the ascender to access the consoles. 8. Ascend and interact with the consoles, The next part is timed and has a cooldown if you fail - you need to Calibrate the Amplitude and Frequency using the flashing light code. 9. Once this has been done head to the room Next to the Radio Tower and pick up The Wunderbarrage Controller Atomkraft Core 1. Find three uraniums: Uranium #1 Find the Fishing Rod (Olaf’s Personal Item) locations: - Dry Dock - Storm Bridge - Fishery Island - Beacon island Look for a Glowing Green Fish jumping around the water at each Fishing Location and use the Fishing Rod at that location once you see it Fishing Locations: Eidskallen Landing x2 Beacon Island x2 Eidskallen Square x2 Dry Dock (found one so far) Fishery Island x2 Tyr’s Foot (found one so far) Once the fish is caught it will spawn an Irradiated Ravager (HVT) that will disappear and respawn somewhere else, chase it down and kill it (check your map to see its location, it shows up as an HVT). It will drop a Uranium. Uranium #2 Next, Craft an ARC-XD (there is one for free in Eidskallen Square on top of a box near the flame trap, you can get it by fishing as well) and melee the vent at Core Foundry to the left of the zipline to open the Secret ARC-XD Course. Blow up the boat full of barrels. Once the course is completed the 935 Genetic Lab room will be open and another Uranium x2 will be inside a Prison Cell There are several Jars with Heads inside in this room, all labelled A,B,C,D,E Look down the Hallway inside the Lab and note which numbered rooms have Nuclear Symbols 1 = A, 2 = B, 3 = C, 4 = D and 5 = E Take one Jar at a time that corresponds with the Numbers next to Nuclear Symbols and place them on the machine to the right of the cell door, once the correct jars are placed the Jar on the left side of the machine will glow purple and you can pick up acid There is a Big Chunk of Meat on a desk next to multiple drawings in the same Room, interact with it, then Pick up The Necrospike Once you have The Necrospike, use it on the Prison Cell Door, this will trigger a lockpick mini game. Spin the lockpick until the lock turns white 3x to unlock the cell, then pick up the second Uranium. Uranium #3 Next you need to craft or obtain the Glocke Drop, once you have one call it in, then shoot 20 mid-air zombies it throws up. This will drop the third and final Uranium. 2. At the Dry Dock, you need to call a WunderBarrage (unlocked by completing Wundersignal steps) in on the “02 Building” at Dry Dock (where there’s debris on the stairs), this will open the stairs to the Machine Workshop. 3. Inside The Workshop there is a Claw Machine which you can place all of The Uranium inside of and play a mini-game. -Have a big group of 7 cores and a small group of 2 cores. 4. Once you complete the Mini-game you will be able to pick up The Atomkraft Core (Note: you drop if you zipline, and cant sprint with it) 5. Head to Quick Revive and place The Atomkraft Core on generator next to quick revive. Go into the shed behind quick revive and turn on the generator. You must now defend the The Atomkraft Core until it’s charged. In interrupted you must turn on the generator again to continue. 6. Take the The Atomkraft Core to the barrel on the Storm Bridge and a Mini-Cutscene will play between the Giant and The Robot. Vegvisir 1. After the cutscene finishes, The Dravakar Shard will spawn at Tyr’s Foot, pick it up 2. Pick it up and place the Shard inside the Bloodheim Hall on the bonfire 3. Use WW range attack to light the fire 4. Use Disciple Injection (there should be a free one around the map) and throw zombies into the bonfire (I only had to throw four) 5. A lockdown will start. Kill the boss zombie and pick up the Sunstone from the bonfire 6. Put the Sunstone in the church and do a range WW attack on it. 7. Around the map, there will now be floating rocks and runes. Above the church there will now be a compass with runes and arrows. -Shoot the floating rune rocks with the ranged WW in the order of the arrow lines. If an arrow has 1 line, then that's the first one. If an arrow has 2 lines, that's the second one, etc. 8. Go into Tyr's Head and interact with the console to start the boss fight. Credit to Callum and the ZoneX discord
COD: Zombies News81,036 görüntüleme • 2 ay önce


OFFICIAL: WW GUIDE FOR TOTENREICH: 1. Head to The Drydocks and lower The Crane, this will allow you to wall jump and interact with the tip of the ship to pick up the Chain Link 2. Next, Head to Storm Bridge and pick up Chili Chunks behind the truck next to Deadshot 3. Place Chili Chunks on the table in the middle of the Skalen Market 4. Next, Head to Burial Grounds left-side door and interact with the keyhole. 5. Interact with the door again and hold it to open the door and to unlock the underground area. 6. This will spawn a Zursa Bear during a special round (starting the second special round) you need to kill him and he will drop The Lantern 7. Place The Lantern in the center of the Underground Room in Burial Grounds. 8. Constellations will appear around the wall. Interact with them as they’re shown on the table in this order: left, right, back, front. 9. Once completed, Astrid will appear and talk, she will then travel to different areas of the map. She will occasionally stop and you will need to kill frost zombies next to her. 10. Once all the Soulboxes are completed an Obstacle Course will form on the outside of The Lighthouse, climb to the top by Jumping / Wall Jumping up 11. Once you reach the top, Listen to the Astrid talk and pick up The Jotun Star
COD: Zombies News67,615 görüntüleme • 2 ay önce

1:27
Sensitive content
This media may contain sensitive content.

