正在加载视频...

视频加载失败

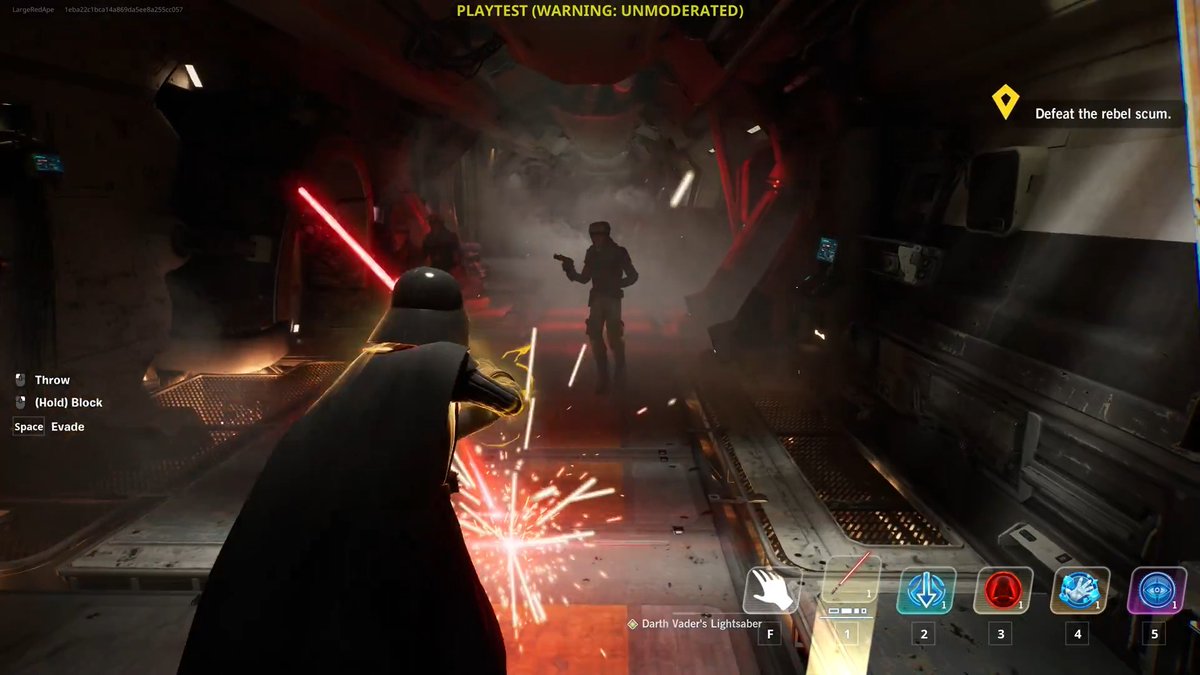
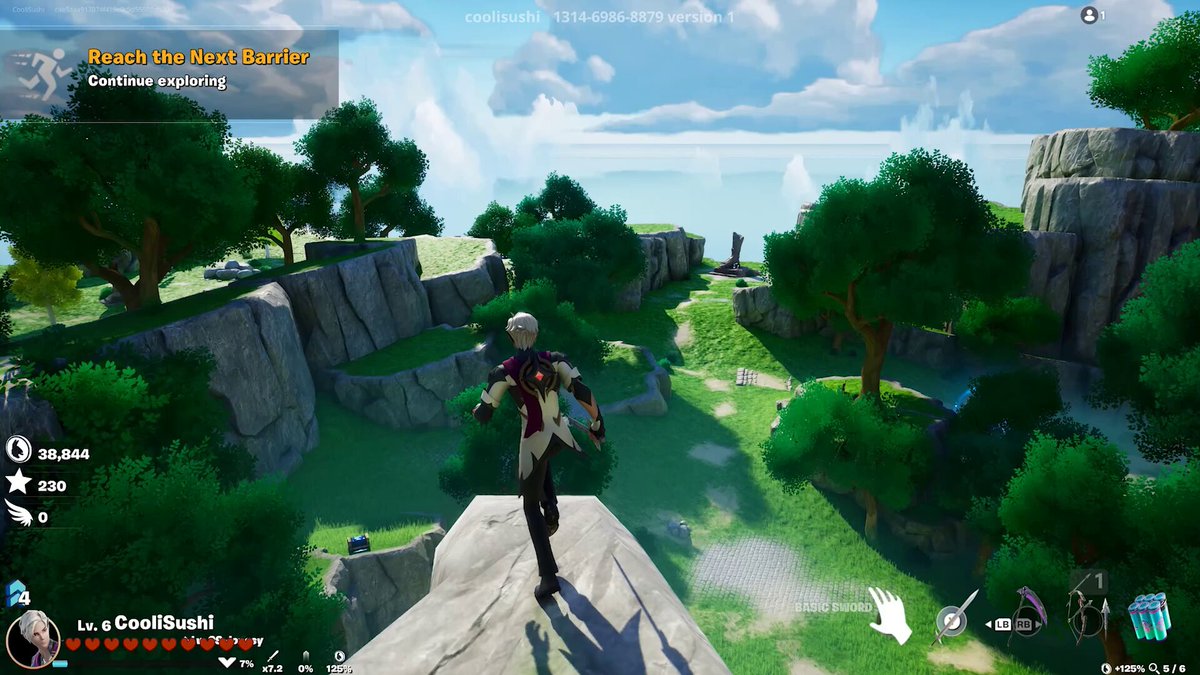
⭐ALTITUDE'S 1V1 FFA⭐ -Added Pump Pullout (with broken pullout setting) -Tried fixing Infinite Tac Sprint again MAP CODE: 3427-2189-5758 Remember to favorite the map to support it! #UEFN #Verse Fortnite Developers

22,487 次观看 • 8 个月前 •via X (Twitter)

0 条评论

暂无评论

原始帖子的评论将显示在这里

相关视频

NEW YEAR, NEW GRIFT I saw a post about this and decided to look into it. Right now, the highest paid promoted slot is an RvB map with SINGLE PLAYER LOBBIES, that alone should raise eyebrows. This isn’t an accident. When you load into the map, you’re placed into a boxed area containing matchmaking portals that redirect players to another map using the same thumbnail, but under a different creator code. So why do this, I have an educated guess... The payment method tied to the promotion will be canceled and/or a stolen identity/credit card is used to run the promotion in the first place And when the fallout happens, who will get punished? The creator whose map ultimately received the traffic, highly unlikely... This mirrors patterns we’ve already seen with XP abuse and TikTok scam loops. The platform often cannot definitively prove that both accounts belong to the same individual, which means this can easily become a weaponized tactic to get other creators flagged, demonetized, or banned. So in the end, it seems this will be another situation that will end up abused and those willing to commit fraud will benefit. On any platform where money is involved, these types of individuals will do anything to earn a piece of the profits. Without stronger verification like biometric checks from Clear (similar to what platforms like LinkedIn already use) this type of abuse will continue. I am positive this is not what Epic had envisioned when creating the Promoted Row, I do think this needs to be addressed sooner than later though, as it is only going to get worse. Because if creators are already willing to do this so openly today, what should we expect once microtransactions are introduced? I feel guilty tagging, but I feel it is important to get eyes on this as soon as possible. Tim Sweeney Mark Rein Epic Games Store Fortnite Developers

Dustin (DWDFN)

15,106 次观看 • 8 个月前

A DEVELOPER CONNECTED CLAUDE CODE TO OBSIDIAN SO HIS AI AGENT WOULD STOP FORGETTING THE PROJECT EVERY MORNING. Every coding session used to start the same way. Claude would understand the repo, fix the bug, explain the architecture, and then the moment the session ended, all of that context disappeared. Same codebase. Same decisions. Same architecture. Same mistakes repeated again. So he added a memory layer. Instead of treating Claude Code like a smart terminal, he connected it to a local Obsidian vault through MCP. Now Claude can read the repo, open the vault, create notes, link concepts, and write important decisions back into the system. When it studies the codebase, it does not just answer once and forget. It creates notes for the major services, maps how the architecture works, links auth to the database, connects APIs to storage, and records why certain migrations or design choices exist. Obsidian becomes the project graph. Now when he asks why something was built a certain way, Claude does not guess from the current prompt. It reads the decision notes. When he starts a new branch, Claude checks the active context file. When the work is done, it updates what changed, what is blocked, and what the next agent needs to know before touching the repo. That is the real loop: read context, write code, capture decisions, update memory. Most people are still using AI coding tools like disposable chat windows. Ask, patch, close, forget. This setup turns Claude Code into infrastructure. The repo gets a memory layer that survives every session, and multiple AI agents can work from the same project map without stepping on each other. The unlock is not better prompting. The unlock is giving the agent somewhere to remember what it already learned.

DegenCalls

20,124 次观看 • 2 个月前

🚁 My war drone simulator Apocalypse Drone now has support for 32 players! I also made it Conquest/CTF so you have multiple bases that you have to capture, each round the map is procedurally generated and random so every time it's different (like Battlefield) There's still some bugs to work out and most importantly I have to figure out soldier animations, because they're fixed models now But I have got really far this time I think and coding with AI is really way further than it was a year ago, you mostly notice that how few times you get stuck, only one time this month building this I got stuck which was today where I moved the AI players to the server and they kept showing up as invisible, very buggy, every time I told it that it couldn't fix it though Then I asked it to fundamentally analyze the current server-side AI player code and make it work like industry standard, and it took a long time and fixed everything Last year I'd get stuck hundreds of times and the AI just couldn't get itself out of a hole, but now it can I think it's impressive that just last year only for the first time we could make actual games with AI But this year as non-game dev, I can get pretty close to the level of a multiplayer game from 20y ago (like Battlefield 1942, that lots of ideas here are based on, but with drones :D) Obviously we're still far away from AAA (I hate that term though) but the curve of exponential progress is there again, as it was in AI image generation, then video, and now code, first bad, then better, then good enough! Here's a video of gameplay from my drone sim You can play it with the link in the reply below and it's multiplayer!

@levelsio

55,036 次观看 • 4 个月前

OFFICIAL: EASTER EGG GUIDE FOR TOTENREICH: Wonder Weapon: 1. Head to The Drydocks and lower The Crane, this will allow you to wall jump and interact with the tip of the ship to pick up the Chain Link 2. Next, Head to Storm Bridge and pick up Chili Chunks behind the truck next to Deadshot 3. Place Chili Chunks on the table in the middle of the Skalen Market 4. Next, Head to Burial Grounds left-side door and interact with the keyhole. 5. Interact with the door again and hold it to open the door and to unlock the underground area. 6. This will spawn a Zursa Bear during a special round (starting the second special round) you need to kill him and he will drop The Lantern 7. Place The Lantern in the center of the Underground Room in Burial Grounds. 8. Constellations will appear around the wall. Interact with them as they’re shown on the table in this order: left, right, back, front. 9. Once completed, Astrid will appear and talk, she will then travel to different areas of the map. She will occasionally stop and you will need to kill frost zombies next to her. 10. Once all the Soulboxes are completed an Obstacle Course will form on the outside of The Lighthouse, climb to the top by Jumping / Wall Jumping up 11. Once you reach the top, Listen to the Astrid talk and pick up The Jotunn Star Wundersignal: 1. After completing Jotun Star Quest Head to The Lighthouse and inside on a shelf there will be a Crowbar 2. There are Multiple Wooden Boxes around the map with red IDs on the bottom right corner of the front of the box in red (for example III-6) use The Crowbar on the Wooden Box that has the Roboterteile ID (the IDs are on the shipping manifest in the War Factory Admin Room), this will give Flak Gun Round War Factory Core Foundry Fjord Road Dry Dock 3. Head to Turret Gun beside The Lighthouse and place Flak Gun Round then melee with Jotunn Star 4. Next, Head to The Robot Head in spawn and interact with it to search broken piece to get The Transmitter 5. Go to Tyr’s Head and place it inside the Wall Machine thingy at the top of the Ladder 6. Next, whilst inside of Tyr’s Head underneath the balcony there are 3 white lights, 2 of these lights will blink, count how many times it blinks -Both lights will remain on, There is the sound of a light turning on to indicate the start of a new light flashing cycle where both lights will flash at the same time to a certain count (for example left 2, right 5). Both lights will be on and then it will flash another set (for example left 6, right 4). (Unsure if these 2 combos have to be put into console in order but correct entry will give two different voicelines.) After entering one correctly you will be kicked out to hear voiceline and can re-enter console to input the 2nd shortly afterwards. 7. Now head to Core Foundry, and use a molotov to burn the ascender to access the consoles. 8. Ascend and interact with the consoles, The next part is timed and has a cooldown if you fail - you need to Calibrate the Amplitude and Frequency using the flashing light code. 9. Once this has been done head to the room Next to the Radio Tower and pick up The Wunderbarrage Controller Atomkraft Core 1. Find three uraniums: Uranium #1 Find the Fishing Rod (Olaf’s Personal Item) locations: - Dry Dock - Storm Bridge - Fishery Island - Beacon island Look for a Glowing Green Fish jumping around the water at each Fishing Location and use the Fishing Rod at that location once you see it Fishing Locations: Eidskallen Landing x2 Beacon Island x2 Eidskallen Square x2 Dry Dock (found one so far) Fishery Island x2 Tyr’s Foot (found one so far) Once the fish is caught it will spawn an Irradiated Ravager (HVT) that will disappear and respawn somewhere else, chase it down and kill it (check your map to see its location, it shows up as an HVT). It will drop a Uranium. Uranium #2 Next, Craft an ARC-XD (there is one for free in Eidskallen Square on top of a box near the flame trap, you can get it by fishing as well) and melee the vent at Core Foundry to the left of the zipline to open the Secret ARC-XD Course. Blow up the boat full of barrels. Once the course is completed the 935 Genetic Lab room will be open and another Uranium x2 will be inside a Prison Cell There are several Jars with Heads inside in this room, all labelled A,B,C,D,E Look down the Hallway inside the Lab and note which numbered rooms have Nuclear Symbols 1 = A, 2 = B, 3 = C, 4 = D and 5 = E Take one Jar at a time that corresponds with the Numbers next to Nuclear Symbols and place them on the machine to the right of the cell door, once the correct jars are placed the Jar on the left side of the machine will glow purple and you can pick up acid There is a Big Chunk of Meat on a desk next to multiple drawings in the same Room, interact with it, then Pick up The Necrospike Once you have The Necrospike, use it on the Prison Cell Door, this will trigger a lockpick mini game. Spin the lockpick until the lock turns white 3x to unlock the cell, then pick up the second Uranium. Uranium #3 Next you need to craft or obtain the Glocke Drop, once you have one call it in, then shoot 20 mid-air zombies it throws up. This will drop the third and final Uranium. 2. At the Dry Dock, you need to call a WunderBarrage (unlocked by completing Wundersignal steps) in on the “02 Building” at Dry Dock (where there’s debris on the stairs), this will open the stairs to the Machine Workshop. 3. Inside The Workshop there is a Claw Machine which you can place all of The Uranium inside of and play a mini-game. -Have a big group of 7 cores and a small group of 2 cores. 4. Once you complete the Mini-game you will be able to pick up The Atomkraft Core (Note: you drop if you zipline, and cant sprint with it) 5. Head to Quick Revive and place The Atomkraft Core on generator next to quick revive. Go into the shed behind quick revive and turn on the generator. You must now defend the The Atomkraft Core until it’s charged. In interrupted you must turn on the generator again to continue. 6. Take the The Atomkraft Core to the barrel on the Storm Bridge and a Mini-Cutscene will play between the Giant and The Robot. Vegvisir 1. After the cutscene finishes, The Dravakar Shard will spawn at Tyr’s Foot, pick it up 2. Pick it up and place the Shard inside the Bloodheim Hall on the bonfire 3. Use WW range attack to light the fire 4. Use Disciple Injection (there should be a free one around the map) and throw zombies into the bonfire (I only had to throw four) 5. A lockdown will start. Kill the boss zombie and pick up the Sunstone from the bonfire 6. Put the Sunstone in the church and do a range WW attack on it. 7. Around the map, there will now be floating rocks and runes. Above the church there will now be a compass with runes and arrows. -Shoot the floating rune rocks with the ranged WW in the order of the arrow lines. If an arrow has 1 line, then that's the first one. If an arrow has 2 lines, that's the second one, etc. 8. Go into Tyr's Head and interact with the console to start the boss fight. Credit to Callum and the ZoneX discord

COD: Zombies News

82,267 次观看 • 4 个月前

Here is the Geometry Nodes Weighted Normals with Laplacian Blur on a full character (a vroid). It easily improves the shading even on game topology with almost no setup. I built this as part of my quest to improve real time toon shading. 3D anime models are popular, but use of dynamic light is rare even among high quality vtuber models. This is for several reasons, but a big one is simply that it takes a lot of Custom Normals work to make 3D cel shading not look like a jagged mess (other pieces of the puzzle are issues like deformations, multiple lights, etc). And fixing Normals is tedious, especially on existing game topology. I have focused on proxy meshes for priority areas like character faces, but they aren't an efficient solution for the whole body + outfit. I wanted something I could just throw on any model and make it at least not a jagged mess anymore even if it wasn't perfect. As you can see from this clip, this does that very well! And vertex groups can be used to control the style of the effect and power. It still can't smooth beyond what the topology density can support, but the topo itself is no longer a problem (for higher res, could be run on a subdivided version of the model and then baked to a Normal Map.) The only changes I made to this model were adding a weld modifier to merge split edges during interpolation, and a vertex group to select the skirt. I have not yet added full handling and logic for detecting edges with big angles like the skirt, or for handling boundaries like on the hair, so both those areas can get better too. You can also see that while it successfully smooths out the Face, it isn't really stylistically correct there. That is still best done with a proxy mesh to define a new shape. This is part of the tools I am working on for Fondant. We are putting together a Blender Addon to release this + a proxy mesh tool for the face, and are working on resolving other problems in-engine to fully bring dynamic light to real time 3D toon shading. Give us a follow, and send them a DM if you are interested in testing these tools as they develop!

aVersionOfReality

14,904 次观看 • 1 年前