Loading video...
Video Failed to Load
Convincing power of resin art

6,180,888 views • 2 years ago •via X (Twitter)
9 Comments

So real that it is undetectable as a painting

Durability is one of the key reasons why resin art is so popular. Resin is a highly durable material that can withstand damage from water and other environmental factors. It becomes unbreakable after curing fully. This makes it perfect for use in a variety of settings, such as homeware, bathrooms, and kitchens.

I thought those were actual fish, just like this

To create resin art, follow these basic steps: 1. **Gather Materials:** - Epoxy resin (usually a 1:1 ratio of resin and hardener) - Mixing cups and stir sticks - Pigments, dyes, or acrylic inks for color - Protective gear (gloves, mask, and eye protection) - Canvas or wood panel - Blowtorch or heat gun (for removing bubbles) - Leveling tools (to ensure an even surface) 2. **Prepare Your Workspace:** - Cover your workspace with a plastic drop cloth or use a dedicated resin work surface. - Ensure good ventilation or work in a well-ventilated area. 3. **Mix the Resin:** - Follow the manufacturer's instructions for mixing the resin and hardener. - Stir thoroughly to minimize bubbles, but avoid introducing more bubbles during the process. 4. **Add Color:** - Mix in pigments, dyes, or inks to achieve your desired colors. Experiment with different techniques like layering or creating swirls. 5. **Pour and Manipulate:** - Pour the resin onto the canvas or wood panel. - Tilt, swirl, or manipulate the resin to create desired patterns. You can use tools like a palette knife or heat gun to enhance effects. 6. **Remove Bubbles:** - Pass a blowtorch or heat gun over the surface to remove bubbles. Be careful not to burn or overheat the resin. 7. **Allow to Cure:** - Follow the curing time specified by the resin manufacturer. This may take 24 hours or more. 8. **Finish and Seal:** - Once cured, you can add additional layers or seal the piece with a clear topcoat for added depth and protection. Read and follow the instructions provided by the specific resin product you're using. Practice and experimentation will help you develop your own techniques and style in resin art.

OMG they are so talented, it looks just like the real thing, their talented hands create lifelike works of art, if you don't look closely you won't know it's really amazing.

Artists can create everything from anything.
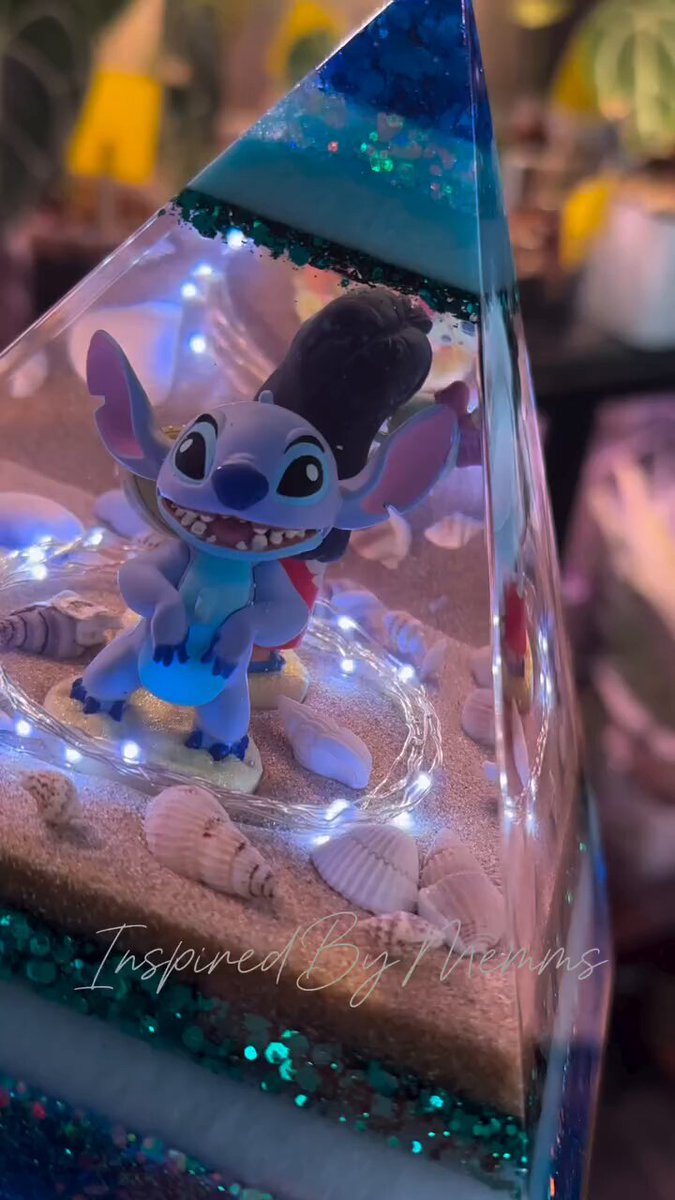
Resin art is a creative form of art that involves using epoxy resin as a medium to create unique and visually striking pieces. Artists mix resin with pigments, dyes, or other materials, pouring and manipulating it on a surface to achieve various effects. The result is often glossy, smooth, and can include vibrant colors, encapsulated objects, or intricate patterns. Resin art has gained popularity for its versatility and the ability to produce diverse, customized artworks.

It looks real 🥵

Amazing Art 🎭 🎨