Video wird geladen...

Video konnte nicht geladen werden

Zur Startseite

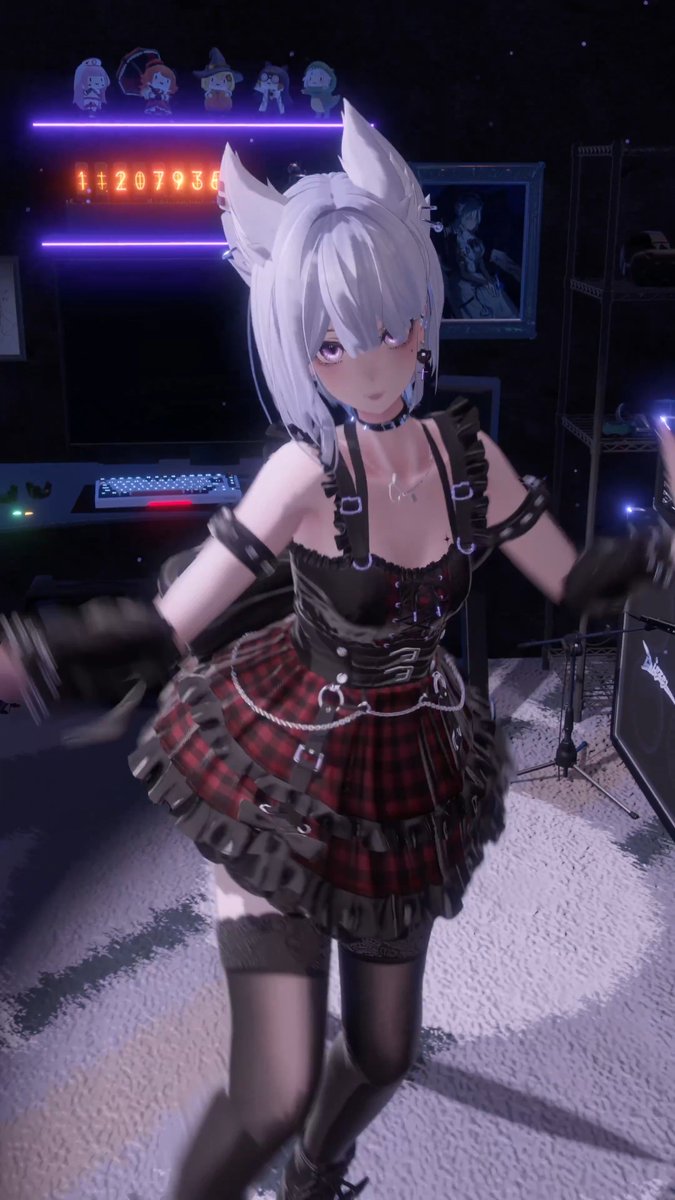
Some recent technical details: • Continued optimizing physics simulation to make the skirt's dynamics more natural. • Implemented dithered culling for the camera to ensure better optimization, while isolating camera collision to a separate layer to prevent the camera from getting stuck in walls or clipping through the character....

214,304 Aufrufe • vor 8 Tagen •via X (Twitter)

0 Kommentare

Keine Kommentare verfügbar

Kommentare vom Original-Post werden hier angezeigt

Ähnliche Videos

Why the character movement in my custom game engine felt janky and how I fixed it. In a game engine, most often, a character moves using the physics engine. Meaning, the player is not just a coordinate in space but a physical body. It has velocity, it handles collisions, and it interacts with the world. Now, as you might know, physics engines need stability. If you run them at variable framerates, things start breaking. Objects phase through walls or fly off into space because the math becomes unpredictable. This is why most game engines lock their physics loop to a 60Hz fixed rate. But here’s the problem: If you have a high-end system, you don't want to limit it at 60 FPS. That's a waste of good hardware. Now, that said, if the GPU is rendering at 144 FPS but the player's position (physics driven) only updates 60 times a second, it creates a micro-stutter that ruins the "smooth" feel of the game. A good way to fix this is to treat the character as two separate things: 1. The Physics Body (Invisible part): This is the "real" character. It lives in the 60Hz physics world, it moves the player and handles collisions. 2. The Visual Model and Camera (Visible part): This is what the player actually sees. It doesn't care about collisions, its only job is to look nice and smooth at whatever framerate the GPU is pushing. Once you have this separation, you can use interpolation to keep them in sync. Every time the physics clock ticks, you save the previous position of the invisible body before moving it to the new one. Between those ticks, calculate how far we are between the last physics update and the next one. By using this to drive the visible parts of the game, the stutters disappear. The physics loop stays fixed behind the scenes, while the visuals slide smoothly between the snapshots. Example: - Right after a tick: blend_weight= 0.0 (The visual model stays at the old physics position). - Halfway to the next: blend_weight= 0.5 (The visual model slides to the middle point). - Just before the next: blend_weight= 0.9 (The visual model is almost at the new physics position). Pro-Tip A critical mistake I made initially, and one many devs make, is parenting the camera and visible parts directly to the player body. If you do this, the camera inherits the discrete 60Hz physics movement by default. In that setup, interpolation won't work because the camera is "stuck" to the physics clock. For this fix to work you must decouple the camera and visuals from the body and move them separately. Player movement processing in Detis Engine: - fixed_process: Physics runs at 60Hz. Handles collisions and raw movement. - process: Variable rate. Mainly used for player input caching in the player case. - late_process: Variable rate. Handles interpolated camera movement after physics and everything else is done being processed. - render. Submits the final interpolated transforms to the GPU. The test environment in the video is running on an old 2070-based laptop. Hopefully the video compression won't introduce any stutter... I’m sharing this in hopes it helps a fellow dev. Cheers.

Ioannis Koukourakis

48,636 Aufrufe • vor 7 Monaten

🎓Learn how to create a powerful Dynamic Embers smart material in a matter of seconds, in my latest video series (AAA) Pro Tips! This smart material can be used on virtually any 3D asset. ___________________________________________________ In this video, the steps are as follows: 1. Create a fill layer to then apply the base maps for our asset into it. 2. Bake out the world space, AO, Curvature, and Position maps. These maps will be crucial for the smart material to function. Also, be sure to add an emissive channel to the project. 3. Next, create another fill layer labeled (Fire animation gradient) with a black mask and inside the mask apply a paint layer. Select the paint layer and paint a simple pill shape using a soft brush. Add an anchorpoint to the mask and disable all channels in this fill layer. 4. Create a folder labeled (embers smart material) and set it to pass through. Add a paint layer inside this folder and set it to pass through as well followed by an anchorpoint. 5. Create another fill layer and apply the paint layers anchorpoint information into its color channel. From here an HSL filter should be added to desaturate and darken the colors. 6. Next, create an additional fill layer with an orange-colored emissive channel. Add a black mask to this fill layer and inside its mask apply a dirt generator. This will give us the illusion of the embers glowing from inside the charred tree. Duplicate this fill layer and tweak its emissive color to a yellowish hue and reduce its mask amount. Do this a second time but with a white-colored emissive channel. This will now create an effect of the embers appearing brighter the deeper they are inside the tree. 7. Lastly, add these layers into a folder with a black mask and apply the (Fire Animation Gradient) anchorpoint into its mask via a fill layer. Now we have a charred embers effect wherever we paint using the paint layer created inside the gradient mask! This gradient mask can also be exported into Unreal engine to create some stunning real-time dynamic animations or the new material can simply be used for in-engine vertex painting. ____________________________________________________ More AAA Game Dev Tips can be found on my YouTube channel here: Stay tuned for more weekly Tips! Happy Texturing!💚 #gamedev #gameart #3dmodeling #texturing #madewithsubstance #ue5 #unrealengine #unity #vfx

Cohen Brawley

46,031 Aufrufe • vor 2 Jahren