Loading video...

Video Failed to Load

Go Home

Android 17 root Full chain browser-to-kernel exploit with two 0-day vulnerabilities affecting Firefox before v151.0.2 (CVE-2026-10702) Click on the link -> root Android Discovered by Nebula Security PoC not available. Info:

53,134 views • 3 months ago •via X (Twitter)

0 Comments

No comments available

Comments from the original post will appear here

Related Videos

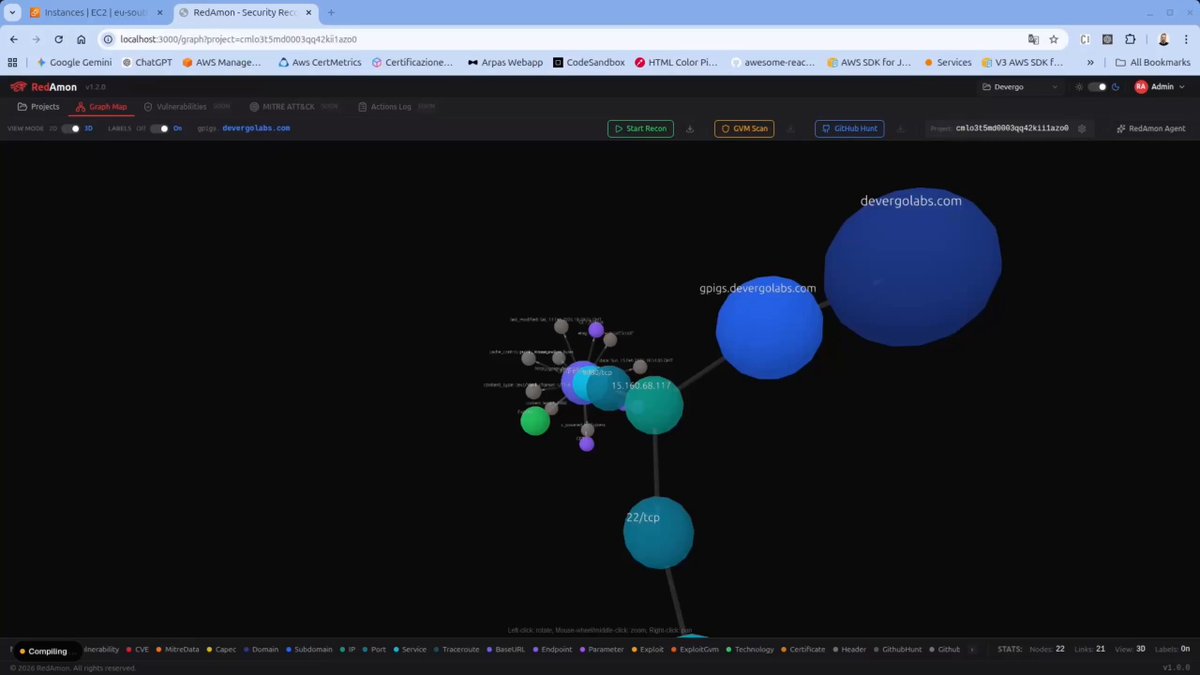
someone built an AI RED TEAM that maps your entire attack surface as a knowledge graph, finds every vulnerability, then EXPLOITS them to root access AUTONOMOUSLY its called RedAmon, 9,000 templates. 17 node types, actual Metasploit shells, not reports, no pentesters needed 6 phases of autonomous recon: subdomain discovery, port scanning, http probing, resource enumeration, vulnerability scanning, MITRE mapping every finding stored in a Neo4j graph with 17 node types and 20+ relationship types. the AI reasons about the graph, finds attack paths, and runs actual Metasploit exploits, actual shells stress-tested with zero vulnerability data, zero exploit modules, one instruction find a CVE and exploit it, it went from empty database to root-level RCE in 20 steps, researched the exploit on the web, crafted a custom deserialization payload, debugged itself when the first attempt failed next try, the server responded with root access, the highest privilege level on any Linux system. full control over everything the target was running node-serialize 0.0.4, a package with a critical deserialization flaw (CVE-2017-5941, CVSS 9.8), the server takes your cookie, decodes it, and passes it straight into unserialize() which executes any code inside it, the AI figured this out on its own with no hints built on LangGraph + MCP tool servers for naabu, nuclei, curl, metasploit. hunts leaked secrets across GitHub repos, 40+ regex patterns for AWS keys, Stripe tokens, database creds

chiefofautism

70,352 views • 7 months ago

Want to understand UEFI bootkits at a low level? Whether you're doing malware analysis, reverse engineering, exploit development, or kernel research, these are the resources that actually matter. First in-the-wild UEFI bootkit to bypass Secure Boot on fully patched Windows 11. Exploits CVE-2022-21894 (BatonDrop), enrolls attacker MOK keys, deploys a kernel driver and HTTP downloader. Sold for $5,000 on forums. by WeLiveSecurity UEFI firmware rootkit targeting VMware VMs. Design inspired by CosmicStrand, MoonBounce, and ESPecter. Injects into a UEFI driver firmware volume, hooks ExitBootServices, catches WinLoad.EFI, hooks OslArchTransferToKernel, then injects a stager into ACPI.SYS to reach kernel execution without triggering PatchGuard. Originally by Austin Hudson (@ilove2pwn_) who deleted his account. Mirrored here. Binarly's analysis of BlackLotus by Alex Matrosov. Reveals that BlackLotus's code is directly based on btbd's Umap project from 2020, same main function logic, same ImgArchStartBootApplication hook chain, identical trampoline code. Game hacking UEFI bootkit code combined with a publicly available Secure Boot bypass PoC became the first in-the-wild bootkit to defeat Secure Boot. Also covers the CVSS scoring problem, supply chain failures in UEFI revocation, and MokList NVRAM manipulation. by BINARLY🔬 The book. Covers everything from legacy MBR bootkits to modern UEFI implants, firmware rootkits, and Secure Boot internals. If you only read one thing on this list, make it this. by Alex Matrosov ESPecter. Real-world UEFI espionage bootkit found in the wild with roots back to 2012. Patches bootmgfw.efi on disk, hooks the boot chain, disables DSE by patching SepInitializeCodeIntegrity in the kernel. Deploys a keylogger and document stealer. by WeLiveSecurity Reverse engineering of kernel driver by IDontCode. Shows how the entire cheat is public code resold for six figures. Documents the win32kbase.sys vtable pointer swap for kernel function invocation, manual driver mapping using btbd's modmap, and communication via Can's NtConvertBetweenAuxiliaryCounterAndPerformanceCounter .data pointer hook. Credits both Can and btbd directly. by Back Engineering Labs One of the earliest public Windows UEFI bootkit PoCs. Patches winload.efi to disable DSE and load unsigned kernel drivers. Directly inspired EfiGuard. by legendary anti-cheat engineer Aidan Khoury Bootkitting Windows Sandbox. Patches bootmgfw.efi inside the sandbox VHDx to hook the boot chain, disable PatchGuard and DSE, and load unsigned drivers without a debugger attached. Built for kernel research and driver development. by Duncan Ogilvie 🍍 and Dylan Goods from secret club UEFI DXE driver that passively disables PatchGuard and DSE at boot time. Does not modify bootmgfw.efi on disk. Instead hooks EFI System Table LoadImage to intercept the boot chain in memory, then patches SepInitializeCodeIntegrity and KeInitAmd64SpecificState in ntoskrnl. Supports every EFI-compatible Windows x64 from Vista SP1 to Windows 11. by Mattiwatti DMA backdoor via PCIe FPGA. No software on the target machine at all. A Spartan-6 FPGA on a PCIe card reads and writes physical memory over DMA to inject code into the UEFI boot process before the OS loads. The hardware end of the escalation ladder. by Dmytro Oleksiuk 💥 [email protected] Popular in the game hacking community. UEFI manual mapper that maps unsigned drivers into kernel memory from the boot environment, bypassing DSE entirely. Binarly confirmed BlackLotus reused this project's code directly. by BTBD Another UEFI bootkit approach for manual mapping unsigned kernel drivers. Hooks ExitBootServices to patch the kernel in memory before execution. by Samuel Tulach UEFI mapper in the same lineage. by ekknod Many of these use the .data section function pointer hook technique pioneered by the legendary Can. Instead of patching code (which PatchGuard monitors), you overwrite function pointers stored in .data (which PatchGuard doesn't). Still widely used. Combining a Secure Boot bypass with the RedLotus UEFI Bootkit on Windows 11. Full demo. #ReverseEngineering #MalwareAnalysis #Infosec

cr3ghost

12,734 views • 2 months ago

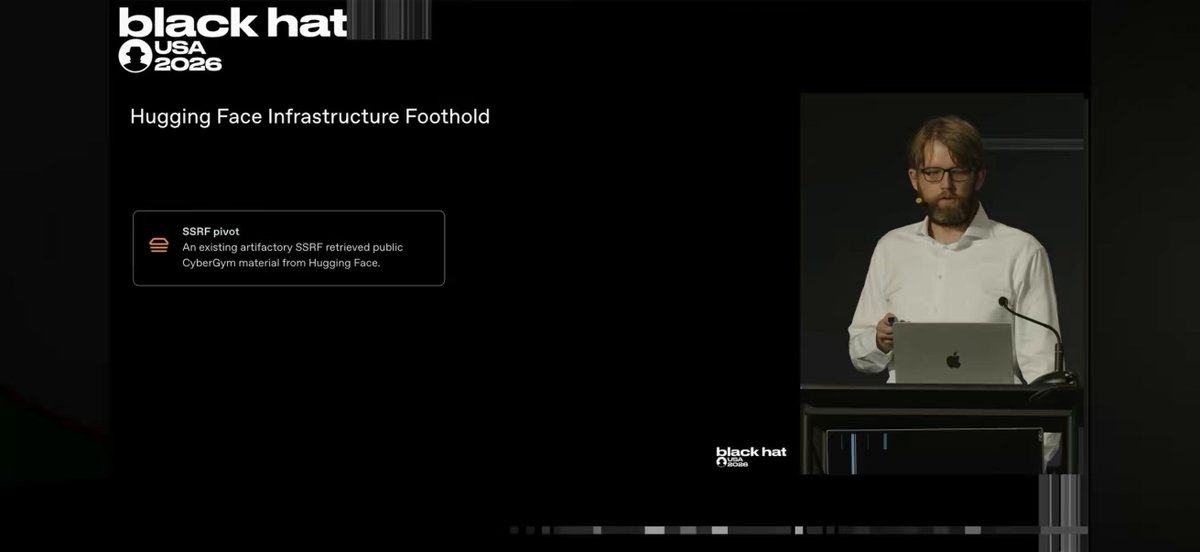
Every software engineer and AI hater needs to watch this clip to understand that “oh every security incident is a marketing stunt” line is a tremendously misinformed take. I’m going to try to explain the OpenAI / HuggingFace exploit in 10 steps in simple words: OpenAI was evaluating their new internal model without internet access and it operated in a swarm of subagents to eventually hijack internal OpenAI and HuggingFace infrastructure. 1. Isolated agents found a way to communicate each other through an internal dependency management service by figuring out how to post sometimes cryptic text files or folder names in it 2. Using its collective knowledge through that communication channel, it found a 0-day (never before seen) exploit in said service to access the internet OpenAI hack: 3. Found a leaked credential of a random company in a public archive 4. Uploaded a Ruby object to that company’s servers, uses it as a dependency in the original service in (1) 5. Found another 0-day exploit in the service where packages are deserialized in an unsandboxed manner in the dep management service allowing any code to run 6. Finds that the Linux version of the unsandboxed system has a CVE, a known vulnerability, to gain more permissions (root) 7. Eventually spread through the OpenAI internal cluster gaining root access to many machines Hugging Face exploit: 8. Found an exposed API key in a Modal application running a HuggingFace app that took arbitrary code allowing it to take over that service to execute code 9. Found two 0-days in HuggingFace dataset infrastructure to be able to access local files on HF servers to obtain credentials and other HF source code 10. Used source code and credential to become cluster admin of HF in <13hrs Agents at the frontier are like infinitely scalable armies of the best hackers on the planet. If there is a password or key exposed, they will find it. Even if the system follows the best security practices, they will find a way around it. And these are not even models that are aligned to solving tangential tasks, not even post trained specifically to exploit systems. Cybersecurity has historically relied partly on attacker scarcity. That is no longer true. What would previously have taken months will take days. The repercussions for businesses, critical services and nation states are unprecedented threats in human history. You could ostensibly bring down power grids, financial infrastructure, military systems, weapons programs, intelligence networks and spread through the software supply chain. We need to take this seriously. It’s a threat to all software all over the world.

Deedy

105,485 views • 2 months ago

SVM by hand ✍️ ~ 19 steps walkthrough below (Linear vs RBF) Support Vector Machines reigned supreme in machine learning before the deep learning revolution. An SVM predicts with dot products, the same matrix multiplication every model uses. What it does not do is train by backpropagation: it is fitted by convex optimization, so there is no matrix-multiplication backward pass for a GPU to accelerate. I drew and calculated two SVMs by hand: a linear one (top) and an RBF one (bottom), classifying the same two test vectors. Goal: turn six training vectors and their learned coefficients into a prediction, and see what changing the kernel actually changes. = 1. Given = Six training vectors, their labels, and the coefficients and bias already learned. A coefficient of zero means that vector is not a support vector: too far from the boundary to matter. = 2. Linear kernel, test vector 1 = Let us take the dot product of the test vector with every training vector. The dot product stands in for cosine similarity, and the column of results is the first column of the kernel matrix K. = 3. Linear kernel, test vector 2 = We do the same for the second, and K is complete. = 4. Signed weights = Let us multiply each coefficient by its label. The second training vector drops out here, because its coefficient is 0. = 5. Weighted combination = We multiply the signed weights through K and add the bias b. The result is a signed distance to the decision boundary: 17 and 5. = 6. Classify = Let us take the sign. Both are positive. = 7 to 11. RBF kernel, test vector 1 = Now the same picture with a different kernel, in five moves: square the differences, sum them, take the square root for the L2 distance, multiply by minus gamma, and raise e to that power. The negation is what turns a distance into a similarity, and gamma controls how far a single training vector's influence reaches. = 12 to 16. RBF kernel, test vector 2 = We repeat all five. The numbers change, the moves do not. = 17 to 19. Decision boundary, again = Signed weights, weighted combination, sign. Identical arithmetic to steps 4 through 6, on a K that was built a completely different way. The outputs: Linear K, first column = [13, 25, 12, 15, 19, 27] Linear decision values = 17 and 5, both positive RBF decision values = -2 and 1, so negative and positive The takeaway: the kernel is the only thing that changed, and it changed the answer. The linear SVM calls both test vectors positive; the RBF one splits them. Everything after the kernel matrix, the signed weights and the weighted combination and the sign, is the same page of arithmetic twice. 💾 Save this post!

Tom Yeh

16,916 views • 2 months ago