Загрузка видео...

Не удалось загрузить видео

На главную

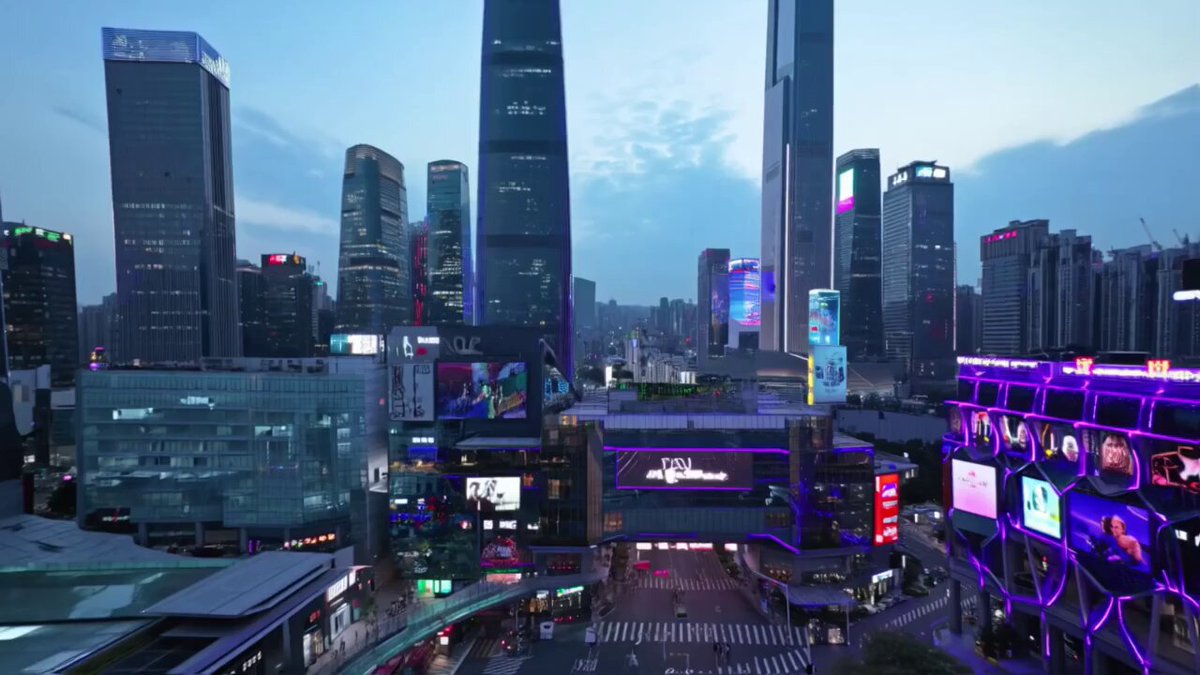
Claude Code can ship a 45-second animated explainer ad in 30 minutes. No video editor needed, just CC + skills. Here's how I made this video for Soteri Skin 👇 1. /plan Concept Brief (Claude Code) I handwrite a concept brief, then chat with the agent to iterate on...

11,608 просмотров • 1 месяц назад •via X (Twitter)

Комментарии: 0

Нет доступных комментариев

Здесь появятся комментарии из оригинального поста

Похожие видео

RIP Arcads 🤯 I built a Claude skill that vibe-codes UGC ads on demand. One product + one prompt = the AI creator, the script, the scene-by-scene shot list, and finished video. All inside Claude. Perfect for DTC brands and agencies who can't afford to keep paying $500-$1,500 per UGC video and waiting 2 weeks for revisions. If you're briefing creators, mailing PR boxes, waiting on first cuts, then asking for re-shoots because the hook didn't land... This skill eliminates the entire loop: → Tell Claude the product, ad angle, and length → Skill writes the GPT Image 2.0 prompt to generate the AI creator from scratch → Skill writes every scene prompt, dialogue line, and delivery direction → Pipe it into Seedance 2.0 with character + product + voice locked → Speed up + caption in CapCut → Ship the ad in 20 minutes No more paying $11 per video on Arcads. What you get: → Perfect character consistency across every scene → Voice consistency that holds clip-to-clip (small CapCut hack inside the tutorial) → Real product fidelity using your actual product photo as a reference → Multi-scene day-in-life, testimonial, and action-shot formats out of the box Built 100% with a Claude skill + Seedance 2.0. I recorded a full step-by-step tutorial showing the exact workflow + the 3 finished AI UGC ads I made for Rhode, AG1, and Barebells. Want to see the full breakdown? > Like this post > Comment "UGC" And I'll send it over (must be following so I can DM)

Mike Futia

33,901 просмотров • 2 месяцев назад

This is probably the most complex workflow I’ve ever built, only with open-source tools. It took my 4 days. It takes four inputs: author, title, and style; and generates a full visual animated story in one click in ComfyUI . I worked on it for four days. There are still some bugs, but here’s the first preview. Here’s a quick breakdown: - The four inputs are sent to LLMs with precise instructions to generate: first, prompts for images and image modifications; second, prompts for animations; third, prompts for generating music. - All voices are generated from the text and timed precisely, as they determine the length of each animation segment. - The first image and video are generated to serve as the title, but also as the guide for all other images created for the video. - Titles and subtitles are also added automatically in Comfy. - I also developed a lot of custom nodes for minor frame calculations, mostly to match audio and video. - The full system is a large loop that, for each line of text, generates an image and then a video from that image. The loop was the hardest part to build in this workflow, so it can process either a 20-second video or a 2-minute video with the same input. - There are multiple combinations of LLMs that try to understand the text in the best way to provide the best prompts for images and video. - The final video is assembled entirely within ComfyUI. - The music is generated based on the LLM output and matches the exact timing of the full animation. - Done! For reference, this workflow uses a lot of models and only works on an RTX 6000 Pro with plenty of RAM. My goal is not to replace humans, as I’ll try to explain later, this workflow is highly controlled and can be adapted or reworked at any point by real artists! My aim was to create a tool that can animate text in one go, allowing the AI some freedom while keeping a strict flow. I don’t know yet how I’ll share this workflow with people, I still need to polish it properly, but maybe through Patreon. Anyway, I hope you enjoy my research, and let’s always keep pushing further! :)

Lovis Odin

58,571 просмотров • 9 месяцев назад

Seedance 2.0 is allowing us to enter a new era of music video creation. Here is how I created HONEY. It was a quick test to see how well this workflow holds up. 🐝 1 - Write your song and generate the music with Suno 5.5. 2 - Use an image generator of your choice. For HONEY I combined both Grok Imagine for aesthetics and Nano Banana Pro for refined editing. 3 - In Capcut I import my audio and just save out a blank video video containing the audio. This step is important because this video file containing audio will now be used with Seedance 2.0 as a video reference with Omni. This allows the AI to apply automatic and realistic lipsync and movement to the music, it's extremely powerful! 4 - Once I have a both my image and video with audio as reference, I use Seedance 2.0 Omni and upload my starting image and then the video reference with the audio. 5 - From here I'm simply prompting like normal, specifying what's happening in my scene with detailed instructions, mentioning multi shots and camera angle changes and then specifying that the person is singing along to the song. I type out the lyrics that are present to have better lipsync accuracy. 6 - Once I have generated a video and like the result, I do video to video, so i upload that video that just got generated and type "The scene continues" and prompt new actions to take place. This allows you to expand on a narrative. These new shots can be used as B-ROLL and since I uploaded my video as reference I have full consistency of everything it saw in the video. This is also extremely powerful. 7 - This is actually the most difficult part. Edit in Capcut. This is where you need to understand pacing and shot selection from all the scenes you generated to bring it all together. You must be strategic with the editing. Goodluck! I'll probably record a video tutorial at some point as it's easier to see what is being done.

Travis Davids

19,081 просмотров • 2 месяцев назад

Introducing /visual-plan - a skill to generate rich, visual plans for Claude Code and Codex. Plan mode in Claude Code is incredible. But I always find my eyes glazing over when it gives me this huge markdown essay in my terminal. I found I can make much better visual plans with reusable components. So I made a skill called `/visual-plan`. It generates plans as MDX with visual, interactive components. Diagrams, interactive API specs, schema design changes, annotated code, and even pan and zoomable wireframes. So for any UI work, you can look at a wireframe first, comment on it, iterate, and then have the agent work. I’ve found this to be a much more intuitive interface for reasoning about what the agent is doing. It’s somewhat inspired by that popular post about how HTML is better than Markdown. But HTML can be slow and verbose to write. And it doesn’t look good checked into a repo. This has really made me feel like humans and engineering are entering a new abstraction phase, where we reason about things at the plan level. As long as the plan is good, agents are getting more and more reliable at executing on it. Almost to the degree that we trust the C compiler to compile to assembly reliably. Plans are the new intermediate representation. I also made a skill for the reverse of this, called `/visual-recap`. After the agent works, it gives you a recap of everything it did. Same idea: wireframes, interactive API specs and diffs, schemas, annotated code, etc. So now when you’re reviewing what the agent did for you, or looking at a pull request of somebody else’s code, you can see a visual recap instead of just reading a wall of text. It’s all free and open source. You can find it on my GitHub. Will link to it in the reply because we all know how dumb these algorithms are with links.

Steve (Builder.io)

123,405 просмотров • 28 дней назад

Motion graphics used to take me an hour per scene (or more) Now I'm creating them in 3-5 minutes — without After Effects, without Premiere, without writing a single line of code. I'm a former LA filmmaker (still PGA). My entire video stack is now 3 tools: Claude Code + HyperFrames (from HeyGen) + Descript Here's how the workflow runs: 1. Drop my brand style guide into a folder (colors, fonts, components Claude reuses forever) 2. Paste a line from my Descript transcript into Claude Code: "Create a scene for this part of the video" 3. Claude Code reads my brand, generates the HyperFrames scene, renders it to MP4 4. Drag the MP4 into Descript, drop it on the matching line of the transcript 5. Done. 3-5 minutes per scene. The unlock is the brand style guide. Once Claude has your colors, fonts, and reusable components, every scene inherits your look automatically. Bonus — you can take a Claude Design export (.zip), hand it to Claude Code, and it'll convert the HTML into a HyperFrames video you can render and edit. I built a GitHub repo with all the skills pre-loaded. Non-developers can clone it, open Claude Code, and be rendering scenes in under 10 minutes. Full walkthrough (20 min video) below Repo (skills + brand template + music-from-transcript plugin): Bookmark this if you make videos. The brand-style-guide pattern alone will save you hours every week. If you're a creator or operator using AI for content — share this with someone who's still living in After Effects.

JJ Englert

102,785 просмотров • 2 месяцев назад

HERMES AGENT CAN CREATE VIDEOS. NOT WITH AN API CALL. IT WRITES THE CODE, RENDERS THE SCENES, AND STITCHES THEM INTO AN MP4. the video attached to this post was generated by Hermes Agent using manim-video skill. three bundled video skills most people skip: 1. MANIM VIDEO 3Blue1Brown-style animated explainers. algorithm visualizations, equation derivations, architecture diagrams, data stories. the pipeline: PLAN → CODE → RENDER → STITCH → AUDIO → REVIEW Hermes writes a plan.md with narrative arc and scene list. then codes a Python script with one class per scene. renders each scene through Manim CE. stitches clips with ffmpeg. adds voiceover if you want it. requirements: → Python 3.10+ → Manim Community Edition v0.20+ → LaTeX (texlive-full) → ffmpeg → no GPU needed draft quality: manim -ql production quality: manim -qh 2. HYPERFRAMES complement to manim-video. use manim for math and algorithms. use hyperframes for everything else: motion graphics, talking-head with captions, product tours, social overlays, shader transitions. HTML is the source of truth. GSAP timeline for animation. CSS for appearance. HyperFrames engine captures frame-by-frame and encodes to MP4 or WebM with ffmpeg. 3. KANBAN VIDEO ORCHESTRATOR this is the advanced play. a multi-agent video production pipeline backed by Hermes Kanban. it creates profiles for each video role. a director profile decomposes the project into kanban tasks. renderer profiles pick up scenes and produce them. the orchestrator decides which skill fits each scene: manim-video for math, hyperframes for motion graphics, p5js for generative art, blender-mcp for 3D, ascii-video for terminal aesthetics. one prompt. multiple agents. one final video. HOW TO USE: enable any of these: /skills search manim /skills search hyperframes /skills search video or ask directly: "create a 60-second explainer video about how the self-improvement loop works in Hermes Agent. use manim style. dark background, amber and teal accents." Hermes writes the plan, codes every scene, renders, stitches, and delivers an MP4. you review and publish. comment MANIM and I'll send you the exact prompt I used to generate the video in this post. full Hermes NIGHT MODE WORKFLOW 👇

YanXbt

32,293 просмотров • 28 дней назад

HE MAKES MONEY IN REAL ESTATE WITHOUT BUYING, SELLING, OR EVEN SEEING A SINGLE HOUSE. HERE'S THE EXACT SETUP He never owns a property. He takes a single listing, turns it into a polished 30-second video, and sells that to the agent who posted it. Realtors need video for their feeds and almost none of them can make it. He sits in the middle and builds the whole thing once as a skill that runs on command Here is the exact process: 1. Pull the listing. Go to Zillow, open any listing, download the high-res images, and grab the property info. That is your raw material 2. Turn photos into video with Google Veo. Get a Google API key for Veo, the image-to-video model. It takes the listing photos and animates them into clean 30-second footage. This is the best one out right now 3. Add the voice with ElevenLabs. Get an ElevenLabs API key. Feed it the listing details and it returns a voiceover that sounds like a real human, not a robot. Lay it over the video with the text on screen 4. Send it with AgentMail. Get an AgentMail key so the system can send the finished email out on its own Then you wire it into one skill. Scrape the listing, send images to Veo, add the ElevenLabs voiceover and on-screen text, then send the email. Feed it each key one at a time and have it build each step Who you sell to: Pull realtors off Zillow and Realtor com whose listings have flat photos and zero video. That gap is your pitch. Send a free sample made from their own listing first, then charge a monthly rate for ongoing clips. One agent with ten listings is a recurring client, fully online Bookmark this

Yarchi

106,174 просмотров • 1 месяц назад