Video wird geladen...

Video konnte nicht geladen werden

Zur Startseite

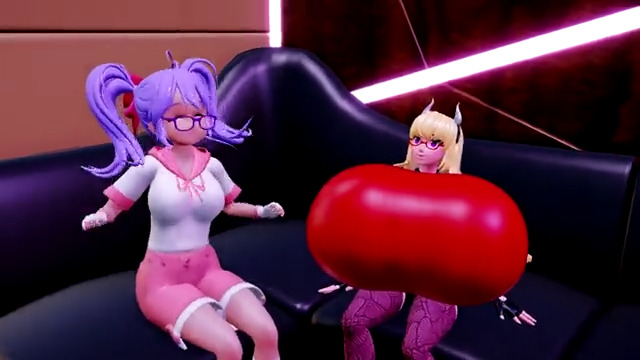
I wanted to visualize color spaces so badly that the first version of Hueplot worked simply on divs. I used CSS as a 3D engine, and no canvas or SVG was used Still can't believe it worked, what a dumb idea 😅
40,819 Aufrufe • vor 7 Monaten •via X (Twitter)

0 Kommentare

Keine Kommentare verfügbar

Kommentare vom Original-Post werden hier angezeigt

Ähnliche Videos

007/100 Buttons. This button was way more complex than I first thought. I love the page transition on the Truus site that Dennis Snellenberg and Jordan Gilroy worked on. So I wanted to use that drawing SVG Path idea somehow and fit it into a button. In best case with a mask effect. The idea was to have an SVG path in the background that fills the button. At the same time, this path should also be used as a mask to reveal the differently colored text. The SVG should also be replaceable and work with other SVGs. For the path animation, I can use the DrawSVGPlugin from GSAP. Sounds like a solid plan. I built the button so far, and it worked great in Chrome and Firefox. In Safari, nope. I used an SVG mask that I referenced through CSS. But Safari can’t handle that properly when the path inside the mask is animated, so the animation lags. There was no simple solution for that. At least I didn’t find something. So I had to rebuild the button in another way. What I found was that the SVG mask animation works in Safari when the mask is placed on the desired element inside the SVG. That’s where foreignObject comes in, it allows you to use normal HTML elements inside an SVG. Using that, I rebuilt the hover text inside the SVG. I then referenced the mask on the foreignObject with a bit of JavaScript. And it worked! The button’s structure looks more complicated than I wanted it to be, but that happens quite often when you need to make something work across different browsers 😃 Crafting 100 Buttons with Osmo ⏳ Total time: 96h

Eduard Bodak

66,853 Aufrufe • vor 1 Monat

Firstly, my work isn’t AI GENERATED PROMPT. The reason why I privated my account was because I was busy yesterday and couldn’t explain things. Fonts that I used: • For the “HAMKU” I used PECKHAM PRESS, I rasterized the letters a bit to achieve a close font from the official account. • For the texts I used CHANTAL medium in lower case. • For my username I used CHALKDUSTER. Brushes that I used: • Studio Pen • HB Pencil (for sketching) • Shale Brush For the colors I won’t list it, kindly check the third photo to see the palettes. I have to admit that I get lazy to use it and even lost in the palettes, so I mainly use the eyedropper tool. Here is the original version, as you can see my original version is so low quality, the lines are too pixelated and not clean—that is why I chose to post the ai enhanced version. Since I used ai to enhanced the lines of my original work, it definitely generated a new version which I still decided to post as the lines are cleaner. I really don’t know the way around on procreate. If you have suggestions on how to avoid the pixelated lines on procreate, kindly please tell me. This is my first time using it for line art cause I mostly use it for painting. I actually don’t know how many layers I exactly have as I already deleted some layers during the process. I didn’t expect I had to provide it. I spent hours on making it from ideas down to the final product. I really wanted it to be similar to the official design. This is my first and last explanation regarding this because if you are still not convinced that I made it, I don’t know what else to say.

Wyn 🐧; EN⁷- (💤/busy = priv)

29,764 Aufrufe • vor 1 Monat