Video wird geladen...

Video konnte nicht geladen werden

Zur Startseite

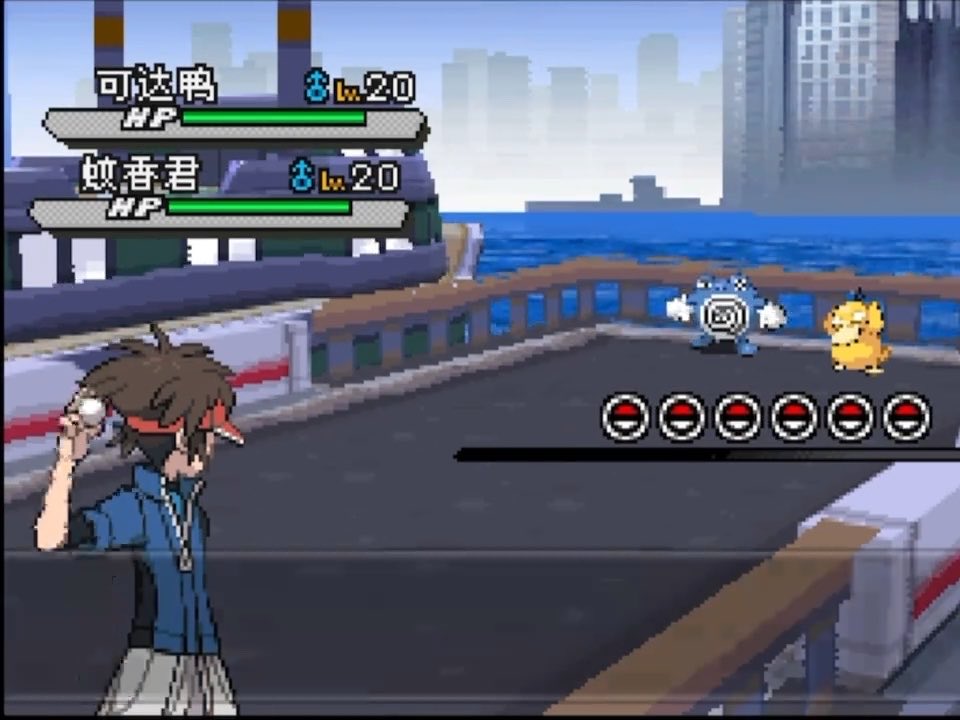
🌱Pokémon Black 2 ROM Hack: Spring Version Dynamic 3D battle scenes, fresh spring tones, overhauled grass and environments, smooth battle animations. The spring Pokémon world is full of comfort!

54,488 Aufrufe • vor 11 Tagen •via X (Twitter)

8 Kommentare

Profilbild von PokeAndroidWjar
PokeAndroidWjarvor 11 Tagen

Dónde se pueden descargar todos estos hacks que plublicas?

Profilbild von Xivbar
Xivbarvor 11 Tagen

I'd like to see a gym fight.

Profilbild von U.S. of ZOG
U.S. of ZOGvor 10 Tagen

THAT is amazing

Profilbild von Mx.Cancelot
Mx.Cancelotvor 11 Tagen

Could this rom work alongside Blaze Black 2/Volt White 2

Profilbild von Zypian
Zypianvor 11 Tagen

Fairy type?

Profilbild von Echo
Echovor 10 Tagen

Sick

Profilbild von Porygatto
Porygattovor 11 Tagen

This is so pretty!!! Oh my God!

Profilbild von random stuff
random stuffvor 11 Tagen

@pokemmo

Ähnliche Videos

How to Replace a Front Strut/Shock Assembly. Done to perfection. ​Time to swap out those worn-out front struts and get that smooth ride back! Here is a breakdown of exactly how it’s done: ​1. Remove the Old Assembly ​Bottom Bolt: Use an impact wrench and a backup wrench to remove the lower mounting bolt securing the strut to the control arm. ​Top Nuts: Head under the hood and unbolt the top strut mount nuts from the tower. ​Extraction: Carefully pull the entire strut and coil spring assembly out of the wheel well. ​2. Compress the Coil Spring ​⚠️ Safety First: Coil springs are under intense pressure. Use high-quality spring compressors and ensure they are locked securely in place before tightening. ​Attach the spring compressors to opposite sides of the coil. ​Evenly compress the spring using an impact wrench until the tension is completely off the top mount. ​Unbolt the top strut nut and remove the upper mount and the old shock absorber body. ​3. Assemble the New Strut ​Unbox the brand-new shock absorber and verify it matches the old one. ​Slide the compressed coil spring, bump stop, and upper mount assembly onto the new strut shaft. ​Secure and tighten the top center nut. ​Decompress: Slowly and evenly back off the spring compressors until the spring sits perfectly in its rubber seats. ​4. Reinstallation ​Guide the new assembly back into the wheel well. ​Hand-tighten the top tower nuts under the hood, then zip them down securely. ​Align the lower mount with the control arm, slide the bottom bolt through, and torque it to spec.

Chuckling Charlie

196,870 Aufrufe • vor 4 Monaten