
Pilgrim
@ArtOfPilgrim • 19,987 subscribers
Lead Weapon & Prop Art @FcpnchStds on @playrust & @s8box Instructor @Gnomon_Workshop. Soli Deo Gloria. Tuts/ Timelapses: https://t.co/PW0UXvHLUA
Shorts


Videos


Here let me help you with one aspect of blender - UV unwrapping. It's not so difficult.
Pilgrim183,243 views • 10 months ago


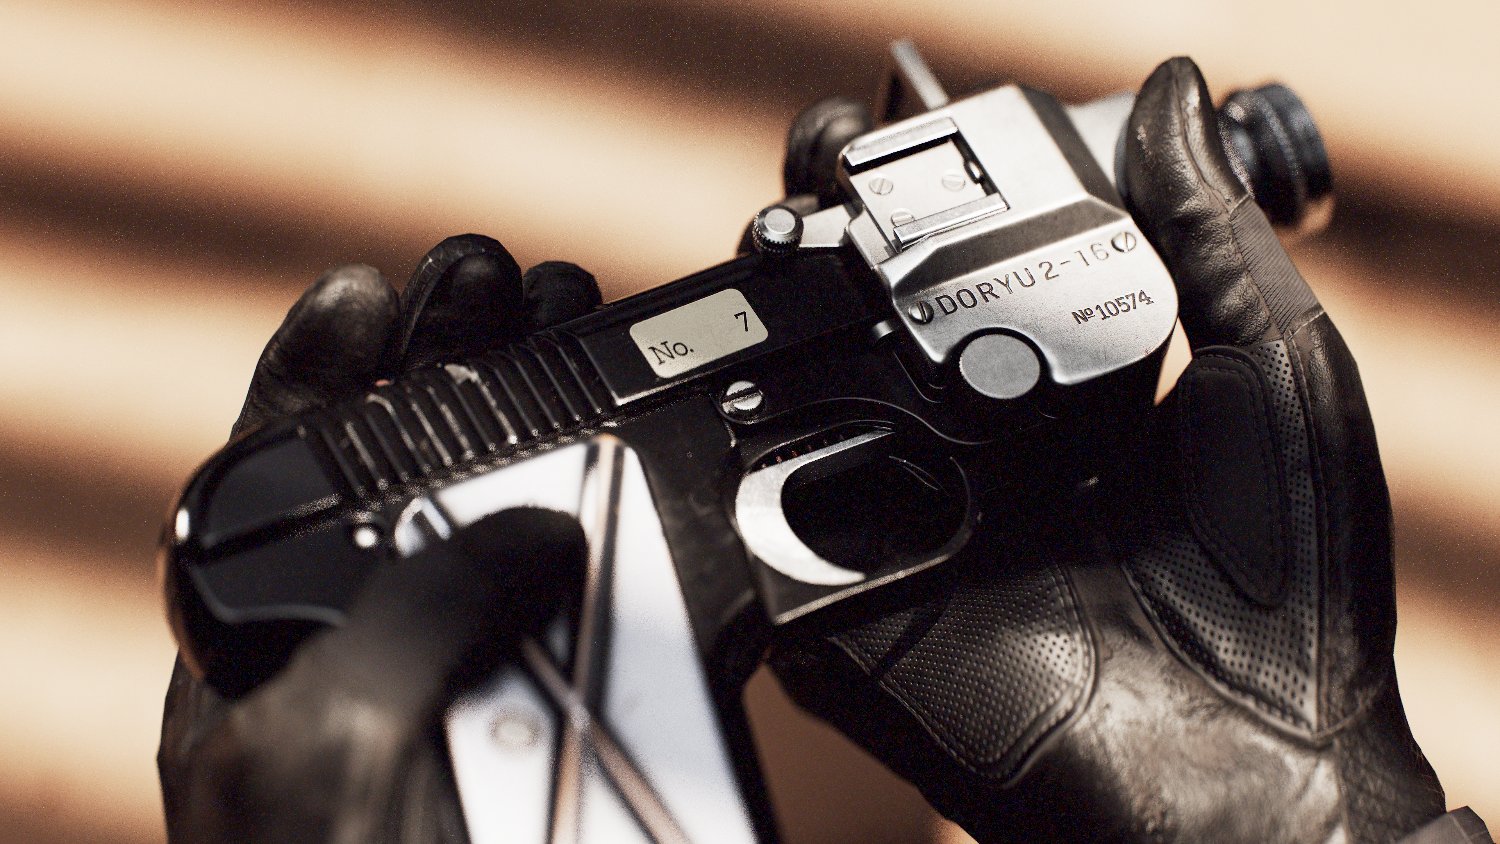
not sure why but i'm always amazed at how smooth our culling is in rust
Pilgrim240,774 views • 2 years ago


using anchor points in Adobe Substance 3D painter, to create welding spatter instead of sculpting them. A balance between sculpting details in Zbrush and using painting height details in Painter, like this, allows way more freedom in texturing and room for some experimentation.
Pilgrim161,374 views • 1 year ago

you can easily paint in sculpted folds in Substance painter by using the following setup: (the Sculpted Folds folder) New layer with just height info. Paint effect in the black mask to paint where you want the folds. Blur Directions to create the falloff. Blur to soften it all.
Pilgrim205,725 views • 2 years ago


The best weapon skin to have ever graced gaming in the entire world
Pilgrim113,999 views • 1 year ago

