
Pilgrim's banner
Pilgrim's profile picture

Pilgrim

@ArtOfPilgrim • 19,792 subscribers

Lead Weapon & Prop Art @FcpnchStds on @playrust & @s8box Instructor @Gnomon_Workshop. Soli Deo Gloria. Tuts/ Timelapses: https://t.co/PW0UXvHLUA

Shorts

How it feels learning 3D. Every stage is a hurdle 😅

How it feels learning 3D. Every stage is a hurdle 😅

619,009 次观看

Artists, show me your robots

Artists, show me your robots

192,067 次观看

this is so satisfying to use

this is so satisfying to use

90,595 次观看

blender + three.js is a wonderful thing

blender + three.js is a wonderful thing

67,506 次观看

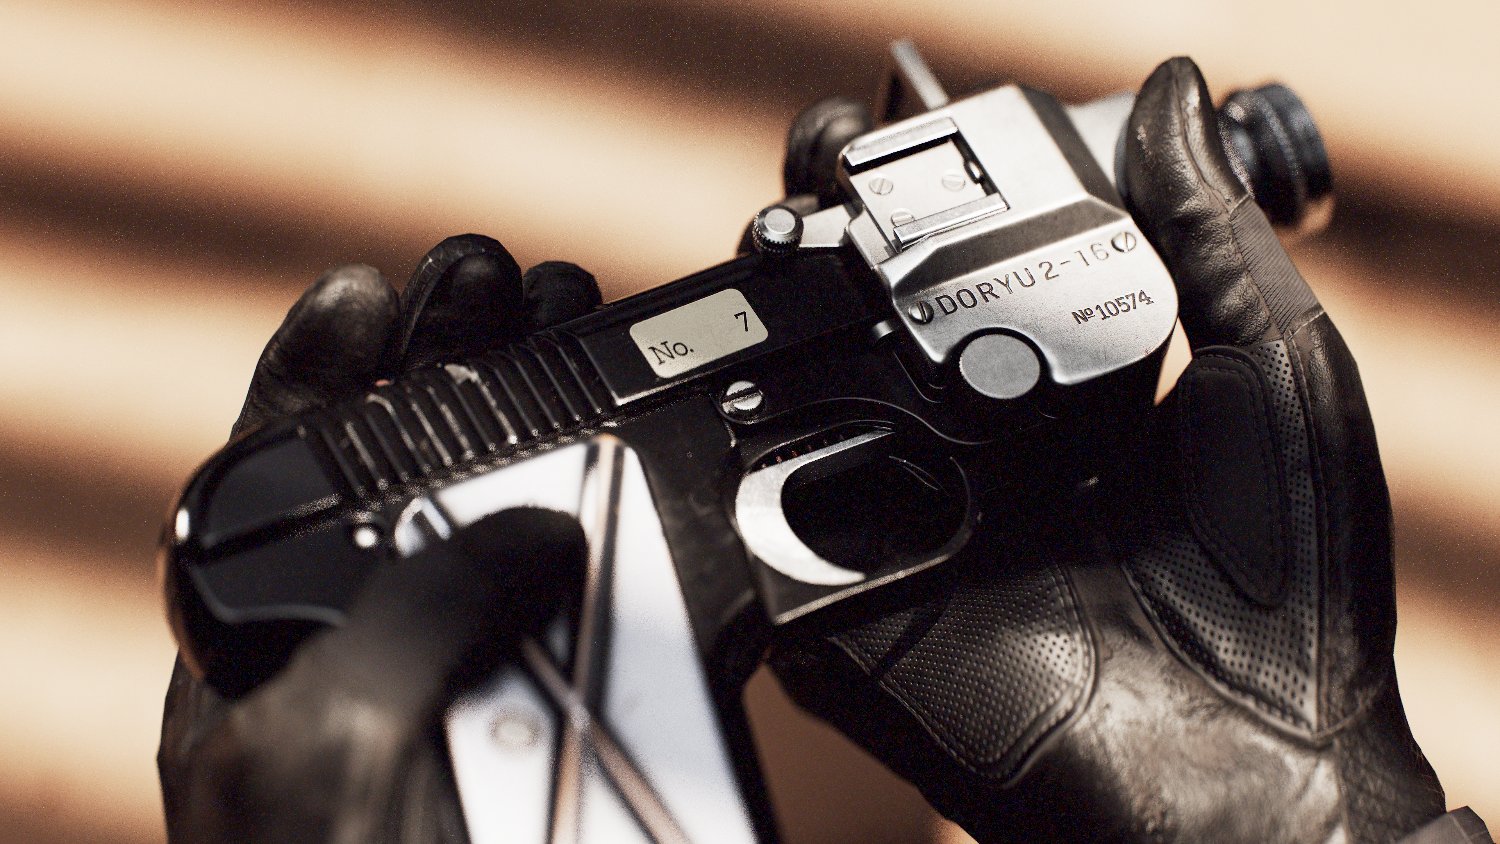
The Speed Loader for Rust new High Caliber Revolver. This was super fun to create and texture. Preview in Blenders Eevee viewport 😍 #b3d #gamedev #gameart

The Speed Loader for Rust new High Caliber Revolver. This was super fun to create and texture. Preview in Blenders Eevee viewport 😍 #b3d #gamedev #gameart

177,502 次观看

I sure did - i actually simulated them in Marvelous Designer to get some natural folds.

I sure did - i actually simulated them in Marvelous Designer to get some natural folds.

95,766 次观看

I've compiled all my PureRef tips into one blogpost so you can bookmark it and refer back to!

I've compiled all my PureRef tips into one blogpost so you can bookmark it and refer back to!

127,128 次观看

Mirror Mirror! simple approach to complex subd cylindrical objects

Mirror Mirror! simple approach to complex subd cylindrical objects

52,749 次观看

This was blender 3.3.2. For 4.2+ I use these settings: Sampling: Viewport → Samples: 64 Shadows →Steps: 16 Raytracing: Method: Screen - Trace Resolution: 1:1 Max Roughness 1 Raytracing → Denoising Raytracing → Fast GI Approximation Method: Global Illumination Raytracing → Fast GI Approximation Resolution 1:1 Rays: 4 Steps: 32 Precision: 1 Performance Enable High Quality Normals Viewport → Pixel Size: 1x Colour Management View Transform: AgX Look: Medium High Contrast Exposure: 1.5

This was blender 3.3.2. For 4.2+ I use these settings: Sampling: Viewport → Samples: 64 Shadows →Steps: 16 Raytracing: Method: Screen - Trace Resolution: 1:1 Max Roughness 1 Raytracing → Denoising Raytracing → Fast GI Approximation Method: Global Illumination Raytracing → Fast GI Approximation Resolution 1:1 Rays: 4 Steps: 32 Precision: 1 Performance Enable High Quality Normals Viewport → Pixel Size: 1x Colour Management View Transform: AgX Look: Medium High Contrast Exposure: 1.5

76,583 次观看

these were fun to work on. It was great having my team push these out. Lewis Thompson 🎮 Alfie Birch Tom Darroch they did a really great job here's the one i worked on

these were fun to work on. It was great having my team push these out. Lewis Thompson 🎮 Alfie Birch Tom Darroch they did a really great job here's the one i worked on

63,618 次观看

one QOL setting i would love in Blender is to display the rotation values on the axis instead in the top left corner of the window. just like this:

one QOL setting i would love in Blender is to display the rotation values on the axis instead in the top left corner of the window. just like this:

48,257 次观看

blender crashed and the last time you saved was an hour ago

blender crashed and the last time you saved was an hour ago

56,247 次观看

the other benefit to this method is now we get to rig it in such a way where we can stretch the geometry of the rope as the anchor and the knot move down, the rope tiles as it scrolls giving the effect its moving with the anchor.

the other benefit to this method is now we get to rig it in such a way where we can stretch the geometry of the rope as the anchor and the knot move down, the rope tiles as it scrolls giving the effect its moving with the anchor.

22,345 次观看

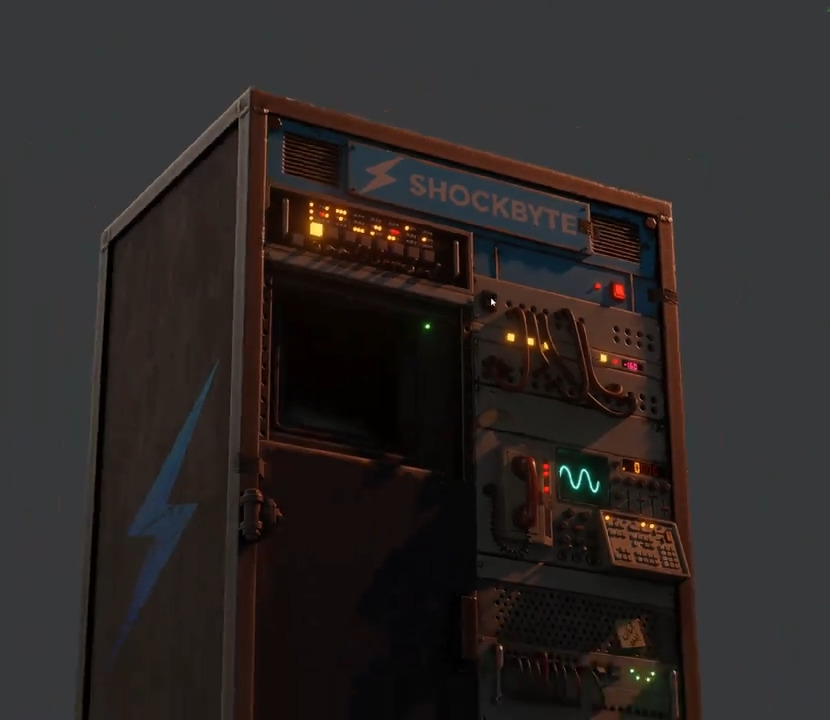
loved working on this toolcupboard skin for Rust. It didn't take that long - creating a greeble sheet to quickly create the many parts. Loved seeing it lit up in Blenders viewport.

loved working on this toolcupboard skin for Rust. It didn't take that long - creating a greeble sheet to quickly create the many parts. Loved seeing it lit up in Blenders viewport.

40,254 次观看

When editing a mesh's geometry in Blender that already has established UVs (especially when creating LODs), UVs don't automatically weld during optimizations. You can use "Weld by Distance," but remember to enable the "Shared Vertex" option to weld UVs only based on shared vertices.

When editing a mesh's geometry in Blender that already has established UVs (especially when creating LODs), UVs don't automatically weld during optimizations. You can use "Weld by Distance," but remember to enable the "Shared Vertex" option to weld UVs only based on shared vertices.

28,102 次观看

Having used 3ds max for over 10 years with a lot of antiquated UI - seeing improvements to ui customisation in blender like this is so nice and refreshing.

Having used 3ds max for over 10 years with a lot of antiquated UI - seeing improvements to ui customisation in blender like this is so nice and refreshing.

28,604 次观看

I love that Blender allows multiple scenes in one file. It's a great way to organize assets into different stages. Even better, you can save the file as the default template for each startup.

I love that Blender allows multiple scenes in one file. It's a great way to organize assets into different stages. Even better, you can save the file as the default template for each startup.

28,908 次观看

Quick way to add support edges to annoying objects in #blender like this. 1. Select a Face. 2. 'Select Linked Faces' 3. 'Select Boundary Loop' 4. Bevel using Profile Mode set to 1. Voila. #b3d #gamedev #gameart

Quick way to add support edges to annoying objects in #blender like this. 1. Select a Face. 2. 'Select Linked Faces' 3. 'Select Boundary Loop' 4. Bevel using Profile Mode set to 1. Voila. #b3d #gamedev #gameart

39,745 次观看

Videos