Loading video...
Video Failed to Load
Step 4: Character Development. We developed each main character based on historical research, then locked their look using multi-angle reference images. We also finalized a unique prompt for each character and stored it for later use in customGPT training and image generation. Here's an example of an Imagen character prompt:
10,532 views • 1 year ago •via X (Twitter)
0 Comments
No comments available
Comments from the original post will appear here


![MiniMax H3 Anime with Storyboard Making Omurice I kept the GPT Image 2 prompt for the storyboard extremely simple: "Create a rough sketch omurice-making storyboard with the given character." Even though the storyboard had panel numbers and a couple of small mistakes, H3 didn't have any issues with it. The video prompt was also very simple: "Use the storyboard @[storyboard ref] as sequential shot guidance, not as a static image. Do not treat the storyboard as one image. Follow each panel as a separate beat. Use @[character ref] as the character and visual style reference."](https://image.24vids.com/tw-2090969477588427222/amplify_video_thumb/2090968175793913857/img/zvC-CxqdTUmFnlaJ.jpg)


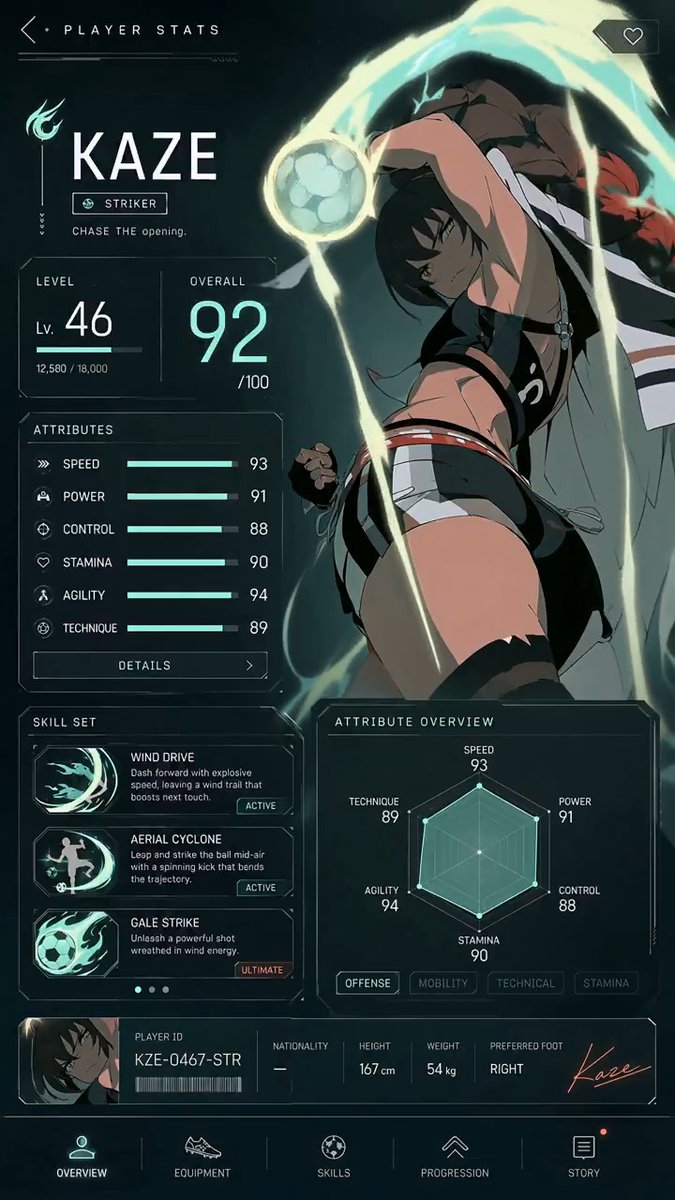


![MiniMax H3 with GPT Image 2 Storyboards I think we can safely say storyboards work incredibly well with MiniMax H3. I'd definitely recommend adding storyboards to your workflow. I didn't include any scene descriptions in the video prompt at all. Its ability to understand reference images is really impressive. MiniMax H3 Prompt for this video: Use the storyboard @[storyboard ref] as sequential shot guidance, not as a static image. Do not treat the storyboard as one image. Follow each panel as a separate beat. Use @[character ref] as character reference. She talks while preparing the latte: まずはエスプレッソを淹れます。 ミルクをなめらかにスチームして、ゆっくり注ぎます。 カップに近づけて、模様を描いていきます。 最後にひと仕上げ。ラテアートの完成です。 -- You can find storyboard and character image prompt in the replies.](https://image.24vids.com/tw-2090556776156742071/amplify_video_thumb/2090556650885144576/img/X6puWjJ4R4I9tBW1.jpg)
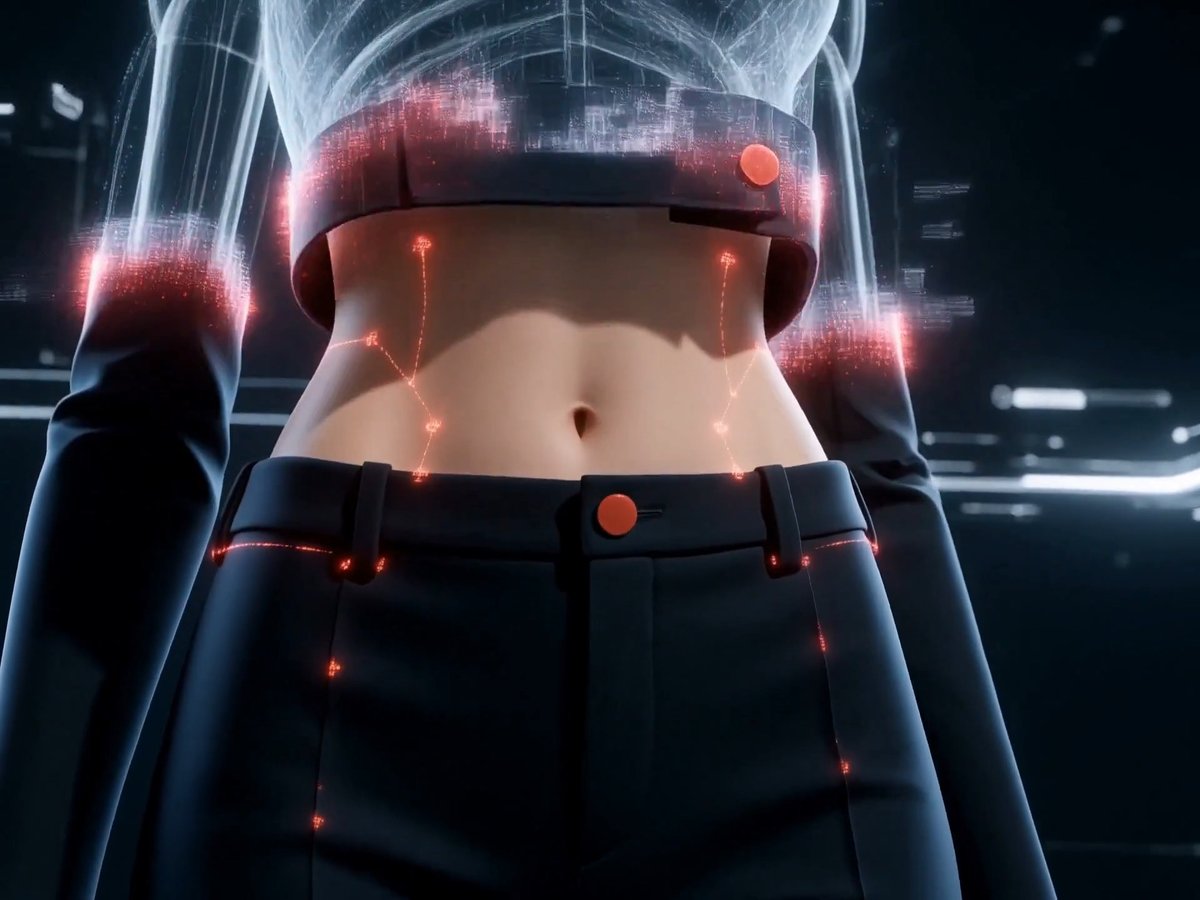


![GPT Image 2 + Seedance 2.0 I used a movement sheet as a reference image to animate the dance. Prompt: Monochromatic grayscale illustration, 3D-rendered character, clean instructional reference sheet. White background, comic-style cell grid layout, technical diagram aesthetic. [LAYOUT] 4×4 grid layout (16 panels total). Each panel separated by thin black border lines. Panels are evenly sized and consistently aligned. Each cell is clearly numbered from 1 to 16. [CHARACTER] (Insert character description) Example: Young female dancer with an athletic build, ponytail hairstyle, wearing a crop top, baggy pants, and sneakers. The same character must appear consistently in all panels. [PANEL STRUCTURE – per cell] Top-left: bold number badge + Korean title text Center: full-body character pose illustration Bottom-left: Korean description text (3–4 lines) Overlay: directional arrows indicating movement flow [ARROWS / MOTION INDICATORS] Curved arrows, straight arrows, and circular rotation indicators. Arrows should be placed around the character to clearly show movement direction and flow. [RENDERING STYLE] Highly detailed 3D sculpted style. Soft studio lighting with subtle shadows. No color — grayscale only. Clean linework, polished finish, game concept art quality. [NEGATIVE PROMPT] No background scenery. No color tones. No additional characters. No cluttered or complex backgrounds.](https://image.24vids.com/tw-2049007457918198128/ext_tw_video_thumb/2049007398061477888/pu/img/2whopeD4MH7TQKOf.jpg)


